How to Cut a Memory Foam Mattress Topper: Step-by-Step Guide and Tips
When I first brought home my memory foam mattress topper, I was thrilled at the thought of enhanced comfort for my bed. However, after a few nights of use, I realized it was just a tad too large for my mattress. Determined to make it work, I decided to figure out how to cut a memory foam mattress topper to size. Armed with tools and determination, I quickly discovered that cutting a memory foam mattress topper was more complex than I had anticipated.
As I measured and re-measured, I found myself grappling with questions about how to achieve a perfect fit without ruining the foam. Through trial and error, I learned some essential tricks to ensure a clean cut and avoid the common pitfalls that many face. If you’re in a similar situation and looking to modify your own mattress topper, let me share the key steps and tips that made all the difference in my project.
How to Cut a Memory Foam Mattress Topper

Alright folks, let’s talk about cutting your memory foam mattress topper without turning it into a wobbly pancake.
First things first, grab your measuring tape and a washable marker—trust me, your future self will thank you for those precise lines.
Then, it’s all about the cutting technique; think of yourself as a foam surgeon—steady hands and a sharp knife are your best friends here! Additionally, make sure to ensure tools are in good condition before you start cutting to avoid any mishaps.
Step 1: Measure and Mark the Desired Size
When you’re ready to customize your memory foam mattress topper, the first step is to measure and mark the desired size accurately. Grab your tape measure and check the dimensions—height, width, and depth—making sure to add an extra 1/8 inch for that perfect, snug fit.
Once you’ve got your measurements, it’s time to remove any slipcover. I like to use a permanent marker to create dots for each measurement and then pull out my trusty straightedge to draw thin cut lines. Trust me, these lines will be your guiding light during the cutting process. Additionally, ensure that you double-check measurements before you start cutting; mistakes can lead to a topper that just doesn’t fit right!
Step 2: Prepare the Cutting Area
Preparing your cutting area is essential for achieving a clean, precise cut on your memory foam mattress topper. First, find a sturdy flat table to securely position your foam—think of it as your countertop for a culinary masterpiece, only this time, we’re slicing foam, not tomatoes!
Strip away any slipcovers to reveal a clean cutting surface. Next, use heavy objects or clamps to anchor the foam in place. This way, it won’t be doing the cha-cha while you’re trying to cut.
Lay a straightedge along your marked cutting lines to guide your knife like a compass guiding a ship. Additionally, ensure that the foam is of the right type to suit your comfort needs as you prepare to cut.
Finally, clear away any obstructions. A clutter-free workspace is your ticket to a smooth cutting process—no one wants a foam mishap!
Step 3: Cutting the Foam Carefully
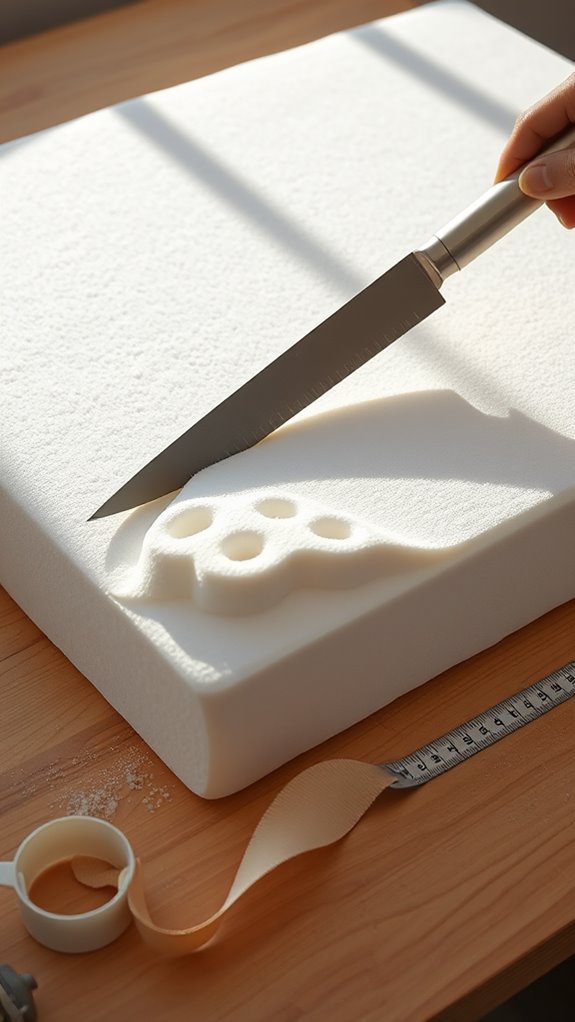
With everything set up, it’s time to cut the foam carefully. Grab your sharp serrated knife or electric carving knife—trust me, these tools are game changers for clean cuts.
Place the foam on a flat surface, letting the cut lines hang over the edge. This makes it easier to slice without squishing the foam.
Here’s how to nail that cut:
- Use steady pressure; don’t rush, or you’ll end up with rough edges.
- If the blade doesn’t cut through on the first pass, just go over the cut line again.
- Double-check your dimensions before celebrating your new masterpiece.
- If needed, smooth any rough edges with sandpaper for a comfy finish.
Step 4: Adjust and Smooth the Edges
After cutting the memory foam mattress topper, you’ll want to take a moment to inspect the edges for any rough spots. You know, those jagged bits that could snag your sheets and ruin your beauty sleep. Grab some fine-grit sandpaper and gently smooth out the roughness until it feels as cozy as a cloud. If your foam’s particularly thick, a sharp serrated knife or electric carving knife can help you adjust those dimensions for a precision fit. Additionally, ensuring a proper fit for your mattress will enhance your overall sleep experience.
| Tool Type | Purpose | Notes |
|---|---|---|
| Fine-Grit Sandpaper | Smooth edges | Prevent snags |
| Serrated Knife | Trim excess material | For thick foam |
| Electric Carving Knife | Precise cutting | Great for thicker foam |
Lastly, don’t forget to keep those leftover foam pieces for future projects!
Why You Might Need to Cut a Memory Foam Mattress Topper

Cutting a memory foam mattress topper can be a game-changer for anyone looking to enhance their sleeping experience. I mean, who wouldn’t want a perfect fit for their bed? Adjusting the size of a memory foam topper can dramatically improve comfort and support, especially in tight spaces like RVs. Plus, if your topper is showing wear and tear, trimming it can help keep that fresh, even surface we all crave. Here are a few reasons you might consider cutting yours:
- Achieve your desired size for a snug fit
- Repurposing a cut topper into pet beds or seat cushions
- Extend the lifespan of your mattress topper
- Tailor it to funky-shaped beds or furniture
Additionally, choosing the right thickness for your topper can further enhance your overall sleep quality. Happy cutting!
What You Need to Cut a Memory Foam Mattress Topper

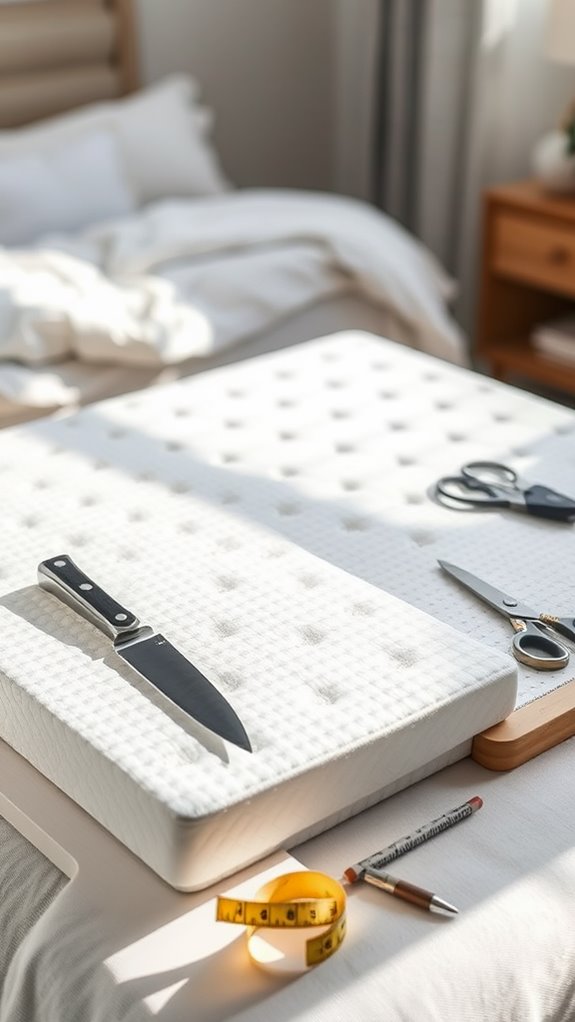
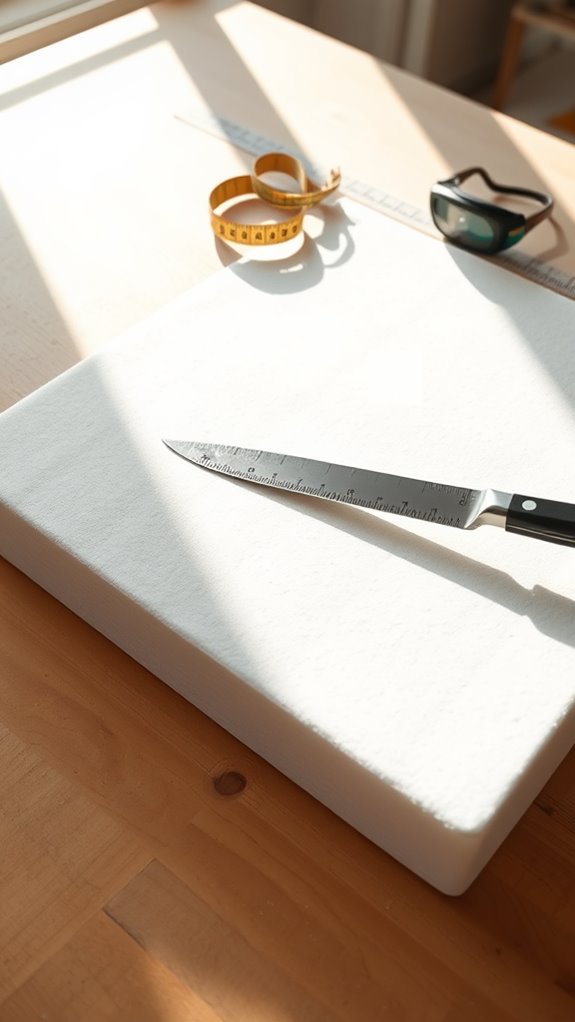
To successfully cut a memory foam mattress topper, you’ll need a few essential tools and materials at your disposal.
First up, grab a sharp serrated knife or, better yet, an electric carving knife for those smooth, precise cuts—think of it as your foam-slicing superhero!
You’ll also want a measuring tape and a washable marker to mark your dimensions, because we all know that “eyeballing it” just leads to regret.
A straightedge acts like a trusty sidekick, ensuring your lines stay straight, while heavy objects can anchor the foam in place, keeping it from dancing around like it’s at a party.
With these tools, you’re all set to tackle that memory foam mattress topper like a pro!
Tips for Achieving a Clean Cut and Avoiding Mistakes

Achieving a clean cut on your memory foam mattress topper requires a bit of finesse and the right approach. Trust me, you don’t want a lumpy mess that resembles a failed science experiment!
Here’s how I get it right:
- Use a sharp serrated knife or an electric knife for precision.
- Mark the areas you want to cut with a straightedge, adding an extra 1/8 inch for wiggle room.
- Verify you’re working on a stable, flat surface to keep everything steady.
- Make slow, steady cuts along the marked lines—think of it like slicing through butter, but with more foam and fewer calories!
Follow these tips, and you’ll be well on your way to creating perfect memory foam mattresses tailored just for you!
Frequently Asked Questions
What Is the Best Way to Cut a Memory Foam Topper?
If you’re wondering how to cut a memory foam topper, I’d suggest using a sharp serrated knife. It guarantees clean cuts, and I always measure and mark my lines for better accuracy.
What Is the Best Tool to Cut a Memory Foam Mattress?
When I’m cutting a memory foam mattress, I find an electric carving knife’s precision unbeatable. If I don’t have one handy, a sharp serrated bread knife works well too. Always use a straightedge for straight cuts!
Will a Hot Knife Cut Memory Foam?
I’ve found that a hot knife can cut memory foam effectively. It melts through the material, leaving a cleaner edge. Just be cautious about temperature and safety to avoid damaging the foam or yourself.
How Do You Cut Foam Smoothly?
When I cut foam smoothly, I use a sharp serrated knife, marking my lines carefully. I apply steady pressure and take my time, ensuring clean edges for a neat finish. It really makes a difference!
In Conclusion
Cutting your memory foam mattress topper can be a straightforward process with the right tools and techniques. Start by measuring and marking the desired dimensions to ensure a perfect fit for your bed. A sharp knife will help you make clean cuts, transforming your sleep space into a cozy retreat.
After cutting, take a moment to check the edges for any rough spots, and smooth them out if necessary. A well-cut topper enhances your comfort, making your bed feel inviting and soft. Ready to enjoy a better night’s sleep? Grab your knife and get started!
