How to Dye a Duvet Cover Like a Pro! Revamp Your Bedroom With Style
Looking to add a fresh, personalized touch to your bedroom? Dyeing a duvet cover could be the perfect solution. By following a few simple steps, you can transform your bedding into a custom piece that reflects your unique style.
But before you reach for that dye, there are some important considerations to keep in mind. From selecting the right type of dye to preparing the duvet cover for the coloring process, each step plays a crucial role in achieving a professional result.
So, if you’re ready to elevate your bedroom decor with a DIY approach, let’s explore the art of dyeing a duvet cover like a pro.
Key Takeaways
- Consider the fabric type and choose a dye color that complements the bedroom decor and personal style.
- Test the dye on a small fabric sample before dyeing the entire duvet cover and follow the dye instructions for specific washing conditions and temperatures.
- Measure the weight of the duvet cover to estimate the amount of dye needed and stir constantly with a thick piece of scrap wood for uniform dye distribution.
- Use a stirring tool to agitate the duvet cover in the dye bath for even color distribution and apply a fixative immediately after dyeing to minimize color bleeding.
Choosing the Right Dye
When choosing the right dye for your duvet cover, it’s important to consider the type of fabric and the compatibility of the dye with your washing machine to avoid any potential damage.
The fabric that’s used in your duvet cover will determine the success of the dyeing process. Natural fibers like cotton, linen, or silk are ideal for dyeing as they absorb color well. On the other hand, synthetic fibers such as polyester may require special dyes and procedures.
Consider the style and color scheme of your bedroom when selecting the dye color. It’s essential to choose a dye that complements your existing decor and personal style, as this will help revamp the overall look of your bedroom.
Additionally, it’s crucial to check the compatibility of the dye with your washing machine. Certain dyes may require specific washing conditions or temperatures, so ensure that the dye method aligns with your resources and living space.
Before dyeing the entire duvet cover, always test the dye on a small fabric sample to ensure it achieves the desired color and effect.
Preparing the Duvet Cover

To ensure a successful dyeing process, begin preparing the duvet cover by measuring its weight to estimate the amount of dye needed, thus aligning the fabric choice with the appropriate dye. Once you have the right dye, follow these steps to prepare the duvet cover:
- Test the dye bath on scrap fabric before adding the duvet cover. This will help you ensure that the color turns out as expected and allows you to make any necessary adjustments.
- Use a fixative immediately after dyeing to reduce color bleeding (optional). A fixative can help set the dye and prevent it from running or fading over time.
- Stir constantly with a thick piece of scrap wood for 10-30 minutes to achieve a uniform dye. This will help ensure that the dye is evenly distributed throughout the duvet cover, preventing any patchy or uneven coloring.
Applying the Dye

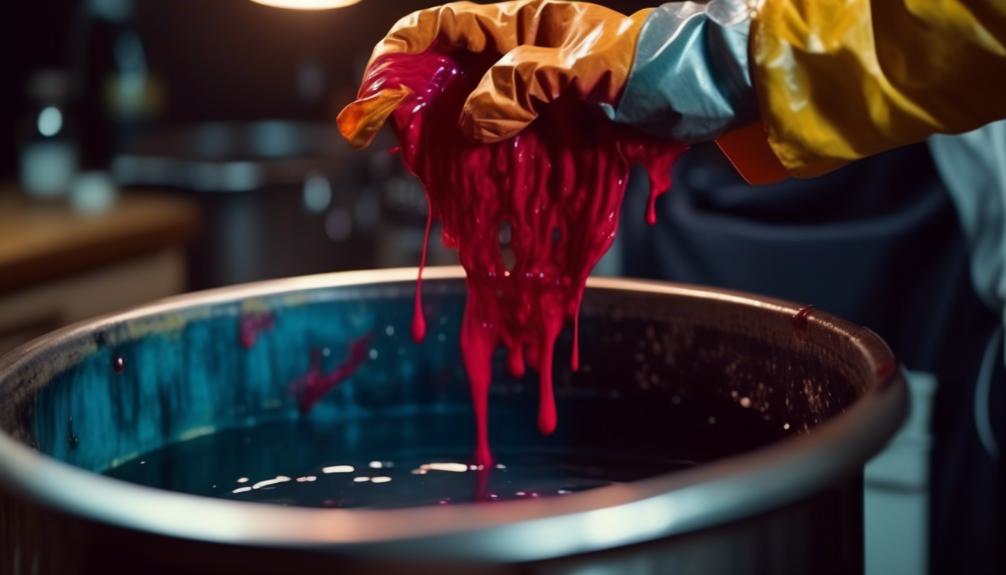
Consider using a stirring tool to agitate the duvet cover in the dye bath for even color distribution. This step is crucial in achieving a consistent and professional-looking result. Once the duvet cover is fully submerged in the dye bath, gently move the stirring tool around to ensure that the dye penetrates the fabric evenly. This will help avoid any patchy or uneven coloring. After agitating the duvet cover, allow it to soak for the recommended time according to the dye instructions. This will ensure that the color sets properly and remains vibrant.
| Key Items to Consider | Description |
|---|---|
| Making your bed | A dyed duvet cover can elevate the look of your bed, adding a touch of personal style to your bedroom. |
| Throw pillows | Pairing the dyed duvet cover with coordinating throw pillows can create a cohesive and inviting atmosphere. |
| Pop of color | Adding a pop of color through dyeing can transform plain white bedding into a statement piece. |
| White bedding | Dyeing a white duvet cover allows you to customize your bedding and infuse it with your personality. |
| Pillow covers | Consider dyeing matching pillow covers to complete the look and tie the entire bedding ensemble together. |
Setting the Color

Consider immediately applying a fixative after dyeing the duvet cover to minimize color bleeding, as recommended by Rit Dye. This will help set the color and prevent it from bleeding onto other fabrics when washed.
After dyeing your duvet cover, follow these steps to ensure the color sets properly:
- Wash Separately: To prevent the color from fading over time, wash the duvet cover separately from other laundry. This will minimize the risk of the dye bleeding onto other items.
- Drying: After washing, hang the duvet cover to dry or run it through the dryer. Using dryer balls on low heat can help ensure that the dye sets properly and evenly across the duvet cover.
- Note Color Fading: Keep in mind that the color may fade slightly after washing, especially in the first few washes. This is normal and can be minimized by following the washing and drying instructions carefully.
Finishing Touches

For a polished and complete look, consider incorporating a bed skirt to add a finishing touch to your bed ensemble. A bed skirt not only gives your bed a neat and tidy appearance but also hides any under-bed storage for a clean look.
To elevate the style of your bed, consider using a decorative headboard or bed frame as a focal point in your bedroom. This can add a touch of elegance and sophistication to your space.
To complete the look, add bedside tables or nightstands on either side of the bed. These not only provide functionality but also contribute to the overall style of the room. Enhance the ambiance of your guest room with a bedside lamp for soft, ambient lighting.
Additionally, consider incorporating artwork or wall decor above the bed for a finishing touch. When making your bed, use crisp white linens and layer with euro shams and pillows to create a luxurious and inviting look.
These finishing touches will transform your bedroom into a stylish and welcoming retreat.
Frequently Asked Questions
Can You Dye a Duvet Cover?
Yes, you can dye a duvet cover! Determine the dye amount based on the cover’s weight. Use the Double Tub Method for small spaces. Consider fixatives to reduce color bleeding. Experiment with dye combinations for desired colors.
What Color Should a Duvet Cover Be?
When choosing a duvet cover color, consider your bedroom’s overall design and ambiance you want to create. Neutral colors like white, cream, and gray are versatile, while bold or bright colors can add personality and create a focal point.
How Do You Make a Duvet Cover Look Good?
To make your duvet cover look good, focus on color coordination, layering, and finishing touches. Consider using complementary colors or patterns, layering with a quilt or throw, and adding decorative pillows for a polished look.
How Do I Make My Bed Look Like a Pro?
To make your bed look like a pro, start with a fitted sheet, then add a flat sheet, a duvet or comforter, and finish with decorative pillows and a throw blanket. Smooth out wrinkles for a polished look.
Conclusion
Once you’ve followed these simple steps for dyeing your duvet cover, your bedroom will be transformed with a stylish and personalized touch.
With the right dye and techniques, you can achieve the perfect color for your space and prevent any color bleeding.
Don’t forget to add the finishing touches with layering, pillows, throws, and blankets to complete the look.
Get ready to enjoy your revamped bedroom with your newly dyed duvet cover!
