How to Make a Quilt From Shirts: Crafting Memories
If the thought of transforming old shirts into a quilt seems daunting due to the intricate nature of quilting, fear not; the process can be broken down into manageable steps that anyone can follow.
By selecting shirts with sentimental value and getting equipped with the necessary tools, you can embark on this creative journey with confidence.
Stay tuned to discover how simple techniques can turn your collection of shirts into a cozy quilt that holds memories close while keeping you warm on chilly nights.
Key Takeaways
- Choose shirts with sentimental value and durable materials for a meaningful quilt.
- Measure, cut, and organize shirt squares meticulously for a cohesive design.
- Seam squares together with precision, ensuring alignment and consistent seam allowances.
- Finish by layering, binding, and celebrating your unique t-shirt quilt creation.
Getting Started With Shirt Selection
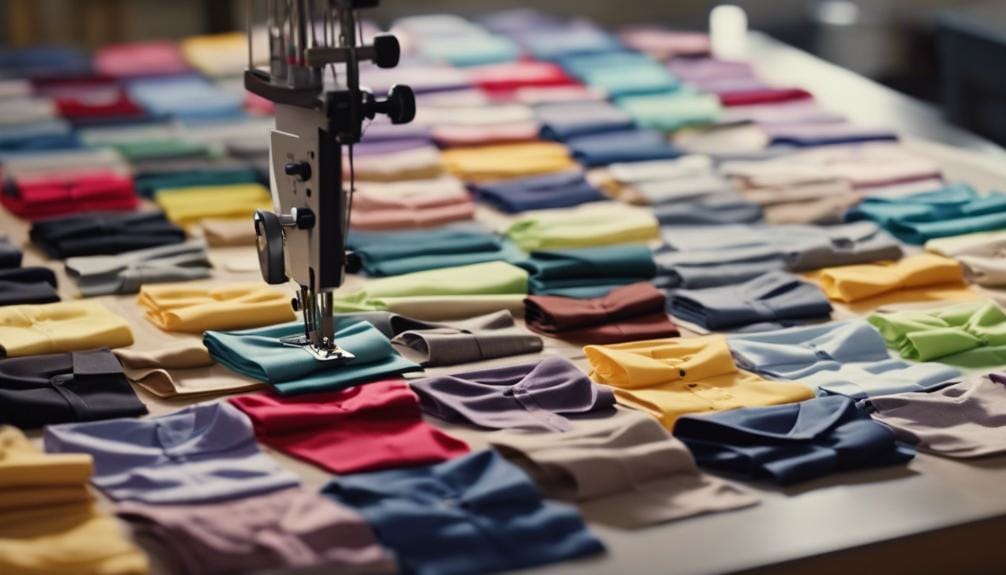
When starting the process of making a quilt from shirts, selecting shirts with sentimental designs or memories is key to personalizing your creation. The designs on the shirts you choose will add a unique touch to your quilt, making it a cherished keepsake.
Opt for shirts made of cotton or a cotton blend for easier sewing and increased durability. Cotton fabric is breathable, soft, and easy to work with, ensuring that your quilt will be both comfortable and long-lasting. Before incorporating the shirts into your quilt, make sure they’re clean and in good condition to prevent any unwanted stains or damage.
As you make your selections, consider using old uniforms, sports jerseys, or concert tees for a special and meaningful touch. These items can evoke memories and add a personal story to your quilt. Verify the sizes of the shirts and plan the layout accordingly to accommodate different designs and colors effectively.
Preparing and Cutting Shirt Squares

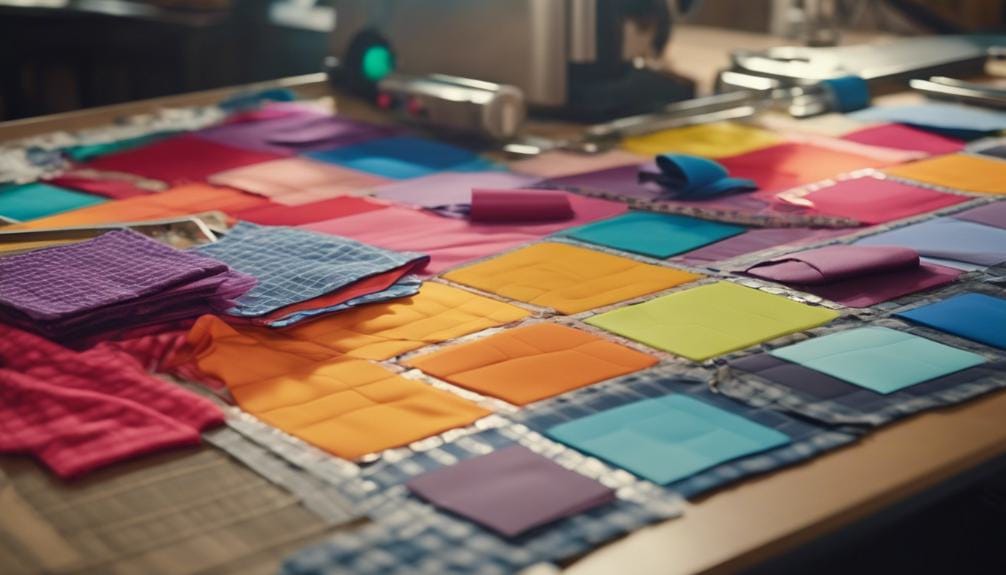
To prepare and cut shirt squares for your quilt, ensure you measure and cut them to a consistent size, typically 15 x 15 inches for t-shirt quilts. Use a quilting ruler, cutting mat, and rotary cutter for precise cuts, maintaining uniformity in the squares. Align the graphic or design of the shirt within the square for a visually appealing layout. When cutting the shirt squares, follow the pink line inside the seams to preserve design elements and create stable squares. Before sewing, organize and label the shirt squares to maintain the desired pattern and layout for the quilt.
| Tools | Description | Importance |
|---|---|---|
| Quilting Ruler | Helps measure and cut squares accurately | Ensures uniform size |
| Cutting Mat | Provides a smooth surface for cutting | Protects surfaces and improves cuts |
| Rotary Cutter | Allows for precise cutting along the marked lines | Ensures clean edges |
When preparing the shirt squares, consider using interfacing to stabilize the fabric, especially if the shirts are thin or stretchy. This step can make sewing the squares together easier and help the quilt top lay flat. Remember to pay attention to the design placement within each square to create an aesthetically pleasing quilt top. Following these steps will set a solid foundation for your t-shirt quilt project.
Arranging and Sewing Shirt Squares

After preparing and cutting your shirt squares to the desired size and ensuring the design alignment within each square, the next step is arranging and sewing them together to create a visually appealing quilt top.
Steps to Arrange and Sew Shirt Squares:
- Arrange T-Shirt Squares: Lay out the shirt squares in a visually appealing layout, experimenting with different arrangements until you find the perfect design flow.
- Use Consistent Seam Allowances: Maintain a consistent ½ inch seam allowance when sewing the shirt squares to ensure uniformity and easy assembly.
- Pin and Sew Rows of Shirt Squares: Pin the shirt squares together in rows following your layout, then sew them together using a sewing machine or by hand to create a cohesive quilt top.
- Press the Seams: After sewing each row, press the seams open with an iron to reduce bulk and create a flat quilt surface for a professional finish.
Adding Layers and Binding

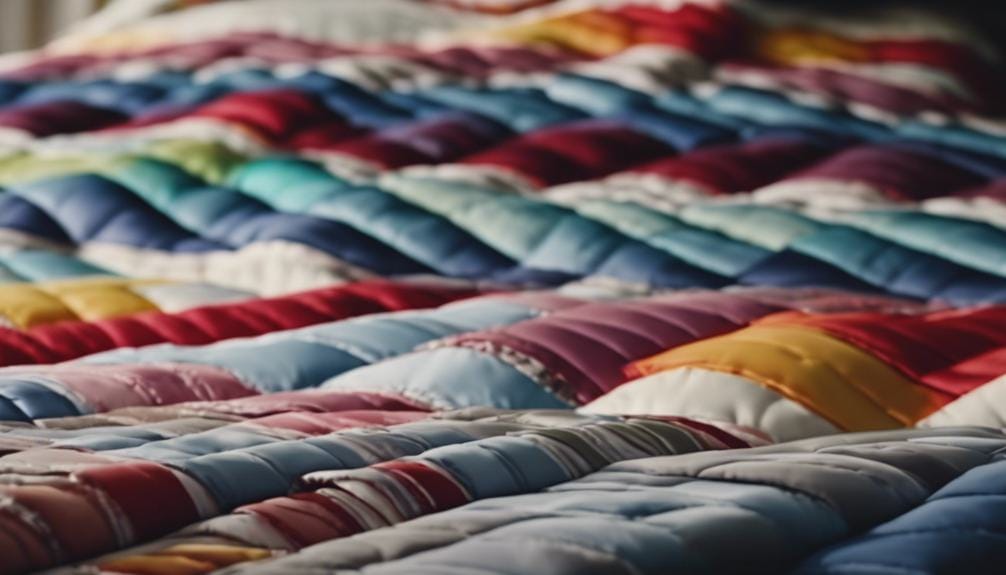
Consider layering your quilt sandwich with quilt batting between the quilt top and backing fabric for added warmth and comfort. Once your layers are positioned, baste them together using large safety pins or temporary adhesive spray to prevent any shifting while quilting.
Next, secure the layers with stitching to create a quilted design. You can choose to hand quilt intricate patterns or use a sewing machine for a quicker finish.
To ensure the edges are tidy and secure, add binding strips around the quilt. These strips will encase the raw edges, providing a polished look and keeping all layers in place. When attaching the binding, take care to sew it neatly, either by hand stitching or using a sewing machine. Pay special attention to the corners, ensuring they’re crisp and professional-looking.
Remember to account for seam allowances when adding layers and binding to your quilt. This step is crucial for maintaining the size and shape of your quilt. For added stability, consider using Fusible Interfacing on the back of your quilt top before layering it with batting and backing fabric. This extra layer can help your quilt withstand wear and tear over time.
Finishing and Enjoying Your Quilt

Now, as you finish up your quilt by removing basting stitches and trimming excess batting, you’re one step closer to enjoying the cozy masterpiece you’ve created from your cherished shirts.
Here are some essential steps to complete your quilt and fully appreciate your hard work:
- Trim Excess Batting: Use sharp scissors to carefully trim any excess batting around the edges of your quilt. This step ensures a neat and tidy finish.
- Fold Backing Fabric: Fold the backing fabric under the quilt top, aligning it neatly. Trim any excess fabric to create a clean edge that will enhance the overall appearance of your quilt.
- Press for Perfection: Press the backing fabric over the quilt top edges using an iron. This will give your quilt a smooth and professional look, making all your hard work truly stand out.
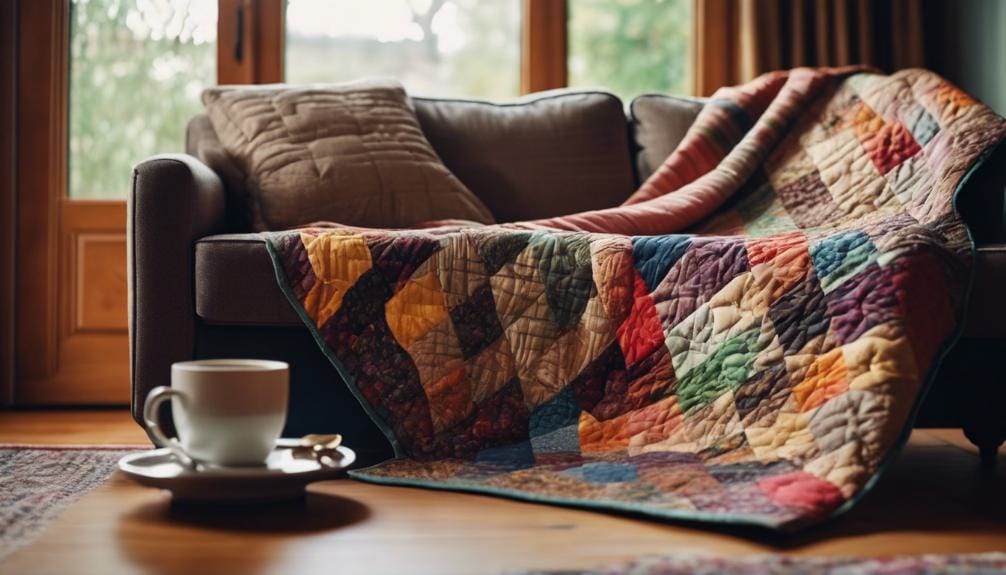
- Celebrate Your Achievement: Take a moment to celebrate completing your t-shirt quilt. Admire the unique design, the memories stitched into each square, and the effort you put into this project. Your quilt is now ready to be cherished for years to come.
Remember to stay connected with Quilts by Bette on social media and subscribe to the newsletter for more quilting tips and inspiration. Enjoy your finished quilt!
Frequently Asked Questions
How Many Shirts Do You Need to Make a Quilt?
You need at least 9 shirts for a small lap-sized quilt, 12-16 for a larger lap quilt, 16-25 for a twin-sized, 20-36 for a full-sized, and 25-42 for a queen-sized quilt. Choose your favorite shirts for a personalized creation.
Can You Make a Quilt Out of Shirts?
Yes, you can make a quilt out of shirts by cutting and sewing them together. It’s a great way to repurpose old shirts into a cozy and sentimental creation. Add backing fabric, batting, and binding for a finished t-shirt quilt.
What Kind of Backing for T-Shirts to Make a Quilt?
For a t-shirt quilt, opt for a twin-sized sheet or soft fabrics like microfleece, flannel, or cotton for a cozy backing. Choose a solid color to accentuate the quilting design. Cut the backing larger, pin it securely, and sew for a polished finish.
How Many Hours Does It Take to Make a Tshirt Quilt?
To make a t-shirt quilt, it can take you anywhere from 6 to 20+ hours depending on your skill level and the quilt’s complexity. Beginners may need 8-12 hours, while experienced quilters could finish in 6-8 hours.
Conclusion
Now that you have completed your t-shirt quilt, be sure to wash it before snuggling up with it.
This will help preserve the colors and ensure that your quilt stays looking fresh for years to come.
Enjoy the cozy memories and personalized touch that your quilt brings to your home!


